


How to Make Colored Salt
2021-03-15(24183)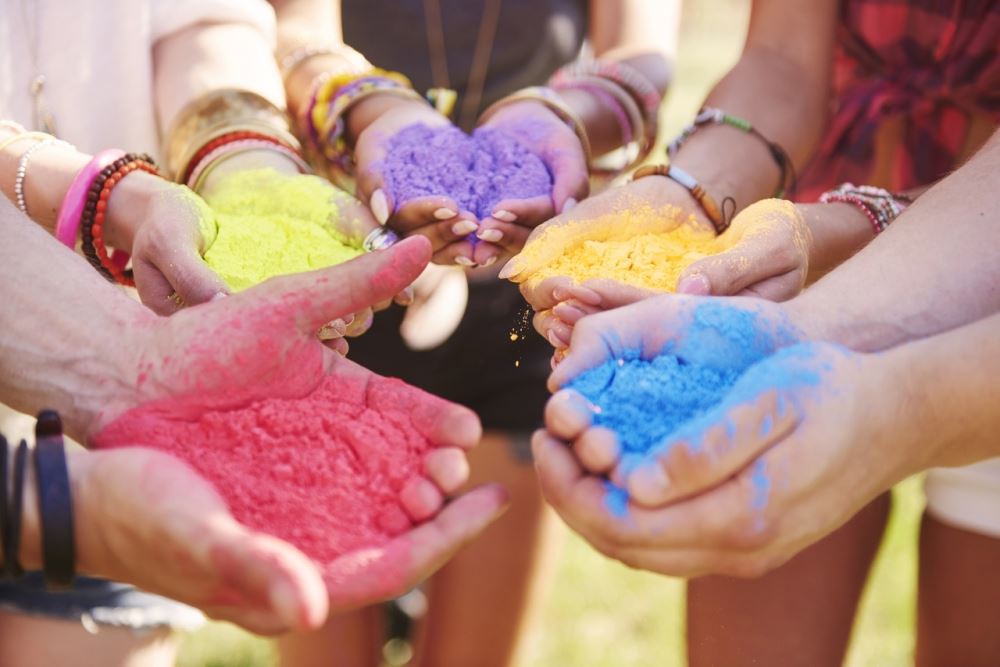
Colored salt has been used by crafts people, artists, teachers and children for a long time. From decorating paintings or objects and even using for science experiments at schools, it is a useful element for many projects. But usually this material cannot be found on stores or there are not many color options to choose. If you wonder how to make colored salt, the answer is very simple and its crafting ways are various.
Colored salt boosts art and craft creativity in addition to improving children’s writing or drawing skills. It's easy to make, and if you already have the necessary items at home, you may not have to spend money. Koyuncu Salt provides the highest quality salt and it is the key for your craft.
Salt and Color Selection
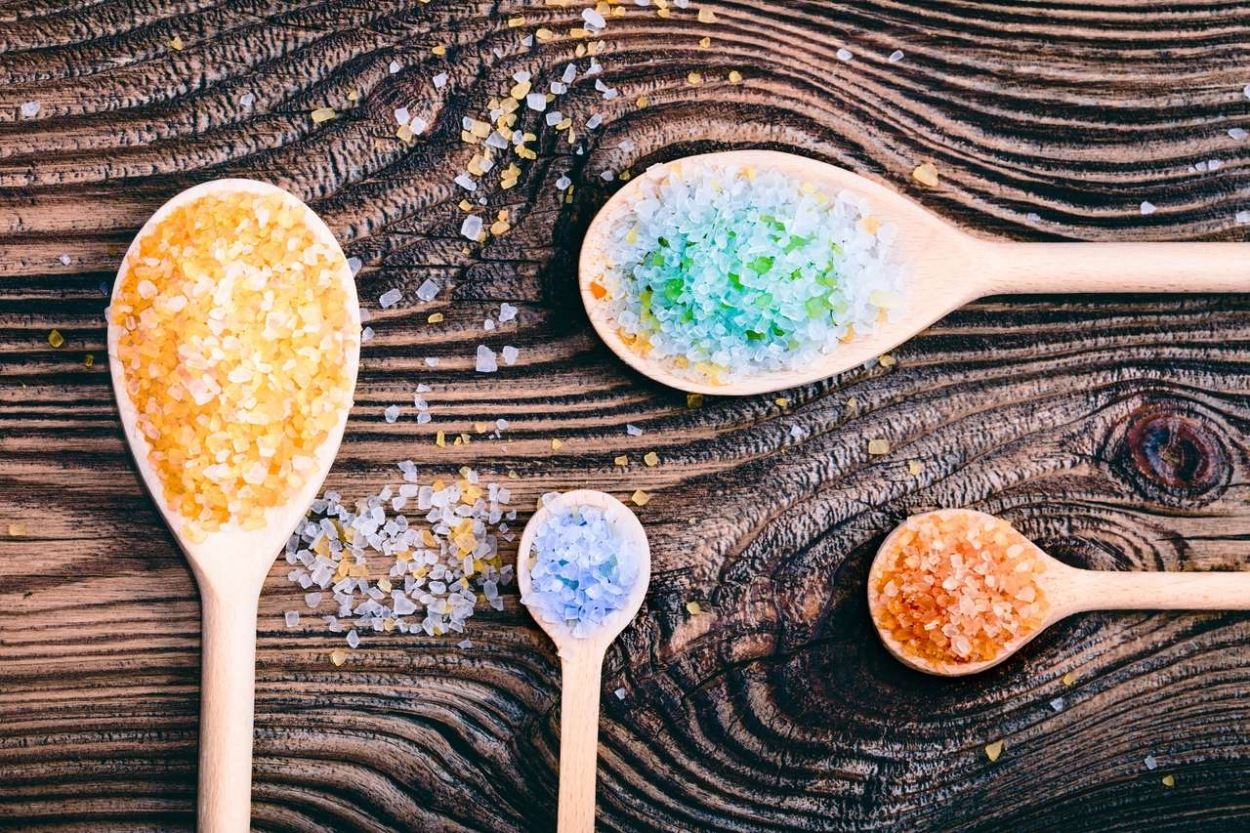
The pigments change what color or shade you want your colored salt to be. The coloring elements are food dyes, watercolor, gouache, crayons, chalk and paints. It is important to note that it is fine salt that most suitable for your crafts. So it is recommended that you use food salt.
If you need big pieces, you can use crude salt. But it is more unstable when it comes to holding the color. Watercolor, gouache and food color are best for dyeing crude salt.
Color Saturation
How you color the salt and what dye you use affect salt’s brightness and saturation. Food dye and gouache provide the densest color. Also the more amount you use, the more intense the color will be.
If you use watercolor, salt takes on softer, lighter and translucent tones. In addition to that, colored crayons provide the same pastel shades with more saturation.
Salt Coloring Methods
Coloring Salt with Paint
· Fill a bucket with salt. Depending on how much colored salt you want to make, a deep bowl, a jug etc. are all suffice.
· Put a little paint into the salt.
· Mix with a spoon or a stick. Stir the ingredients until the paint is evenly distributed through the salt.
· Let the mixture stay overnight to dry.
· You can prepare other colors simultaneously in other buckets so that they'll all be ready at the same time to use.
· You should test before using, checking if the salt is completely dried before using for your crafts and projects.
Coloring Salt with Liquid Food Dye
· Pour the salt into a resealable bag.
· Apply the liquid food dye to the salt. We suggest that you do this slowly, a drop at a time, so that you can intensify the color as much as you want and stop when you are satisfied with it. The more drops you add, the more vivid the color becomes.
· Carefully press and take the air out of the resealable bag without spilling the salt. Seal the bag. Before continuing, wait for about a minute to allow the salt to settle.
· After sealing and waiting, compress the bag repeatedly. This way the color will spread all over the salt.
· Knead the mixture until the color has permeated all of the salt in the plastic bag.
· After that check if you see any dampness in the mixture. If so, allow some air into the bag and let it dry, waiting for a longer time. Then your colored salt is ready.
· If you will not use it immediately, you can store it in the sealed bag.
Coloring Salt with Food Coloring Gel
Gel-based food dye dries instantly and does not leave any dampness, which may be the case with liquid food dye.
· Put the salt into a resealable bag.
· Add the gel food dye. As gel is more dense, you will need to extract the color, using a stick, a knife or a toothpick. It is suggested that you do this slowly as well, adding a small amount at a time, so that you can intensify the color as much as you want and stop when you are satisfied with it.
· Gel dye is more vibrant with just a little amount, so you may want to be more careful adding gel.
· Slowly press down onto the bag to take out excess air and then seal tightly.
· Shake or knead the bag, moving the gel throughthout the salt. Check that the mixture is colored evenly.
· The colored salt is ready as the gel dries immediately.
Coloring Salt with Chalk
· Chalk comes in a wide range of pastel and bright colors but ordinary stores may not have all shades. You can check art and craft stores for a wider variety.
· You should cover your workspace with a wide cloth as chalk would create dust.
· Spread a wide paper over the cloth.
· Pour the salt onto the paper. The amount of salt depends on the amount of colored salt you want.
· Put a piece of chalk onto the salt. Roll the chalk back and forth over the salt. As you roll, the chalk will color the salt.
· Keep Rolling the chalk until you achieve the color you desire.
· Using the paper as a cone, put the chalk-colored salt into a resealable bag.
· Your colored salt is now ready to use, or you can store it until you need.
What Can You Do with Colored Salt?
· Salt adds a great texture to water color paintings. If you haven’t tried it, sprinkle some colored salt on your painting next time, before the watercolor dries.
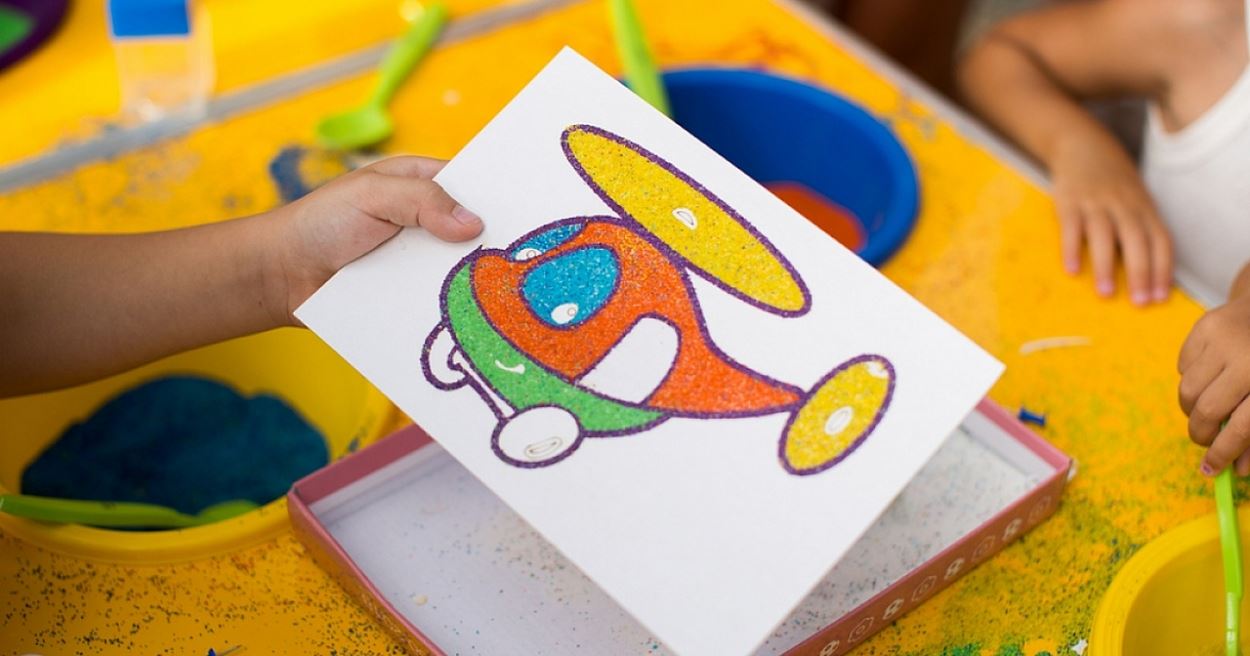
· Paint a scene using glue and then pour colored salt over the glue, coloring what you draw.
· Grab a clear glass bottle or vase, using a spoon, layer colored salt. Each layer should be a different color. Layered with colored salt, the bottle or vase will be a beautiful decoration object.
· For you to do with your children, sprinkle colored salt over large chunks of ice; the colored salt helps to melt the ice while creating colorful patterns.
· For a science or art project, you can create a colored salt pendulum, drawing vivid patterns on the paper.
